A lesson in building a collapsible / rigid muskrat colony trap.
Dimensions:
24" x 6" x 6" - 1" x 1" 16 gauge wire mesh GAW
( you can vary the height / width / length as needed )
Supplies needed:
1 roll - 16 gauge wire mesh 1" x 1" - 15 feet ( makes 6 traps )
1 pound aluminum J clips ( 500 )
1 pair of J clip pliers
1 pair of WISS metal shears ( 16 gauge cutters )
1 rubber mallet
1 tape measure - 25 feet size
1 pair of dyke
1 pair of needle nose wire cutters
1 homemade metal bender ( Harbor Freight 30" bender )
Procedures:
- Roll out the wire mesh on a flat surface - such as walk way concrete.
- Walk all over the pattern - flattening the wire to the ground with feet.
- Inspect the wire for any defects - such as broken wire - bad welds - etc.
- Note any defects - mark - identify
- Cut out 24 patterns - counting 6 squares from one and cut - 24 panels.
- These should be 6" x 24" size ( you lose 1 inch every cut - 2 feet / roll ).
- Which means you will need another roll to complete the doors ( 5" x 8" patterns yield 4 doors / 9" x 24" - so you need 3 x 9" or 27" more wire ) .
- Use the rubber mallet and pound these patterns flat.
- Lay out the 4 panels per trap with long wires inside trap ( topside ).
- J clip ends first - count 12 from either end - clip 12 / 13.
- Now just start from either end and J clip every two spaces - count 2 - clip.
- You will find that @ the center between 10 and 12 there is one space and between 13 and 15 one space if you did it all right.
- Repeat the pattern of J clips on the other 3 panels.
- Final panel is clipped to the first panel - making sure the longitudinal wires are INSIDE the trap tube - latitudinal wires outside for colony traps.
- Cut out door patterns - 5" x 8" standard lengths - leaving long tines for wrapping around panels to form hinges - attach using J clips first - to assure proper seating - bend tines around top panel edge to form hinges.
- J clips on doors should be placed on either end - centered between space 1 and 6 - make sure the door is moveable and free - positioned inside the trap @ 45 degree angle - with longitudinal wires outside the trap.
- Repeat for the other five traps
- Form Stabilizers from number NINE wire - C forms - 22 inches long and attach to trap with J clips between 12 and 13 ( center )
- Flatten trap / fold / compress / decompress / assemble / test
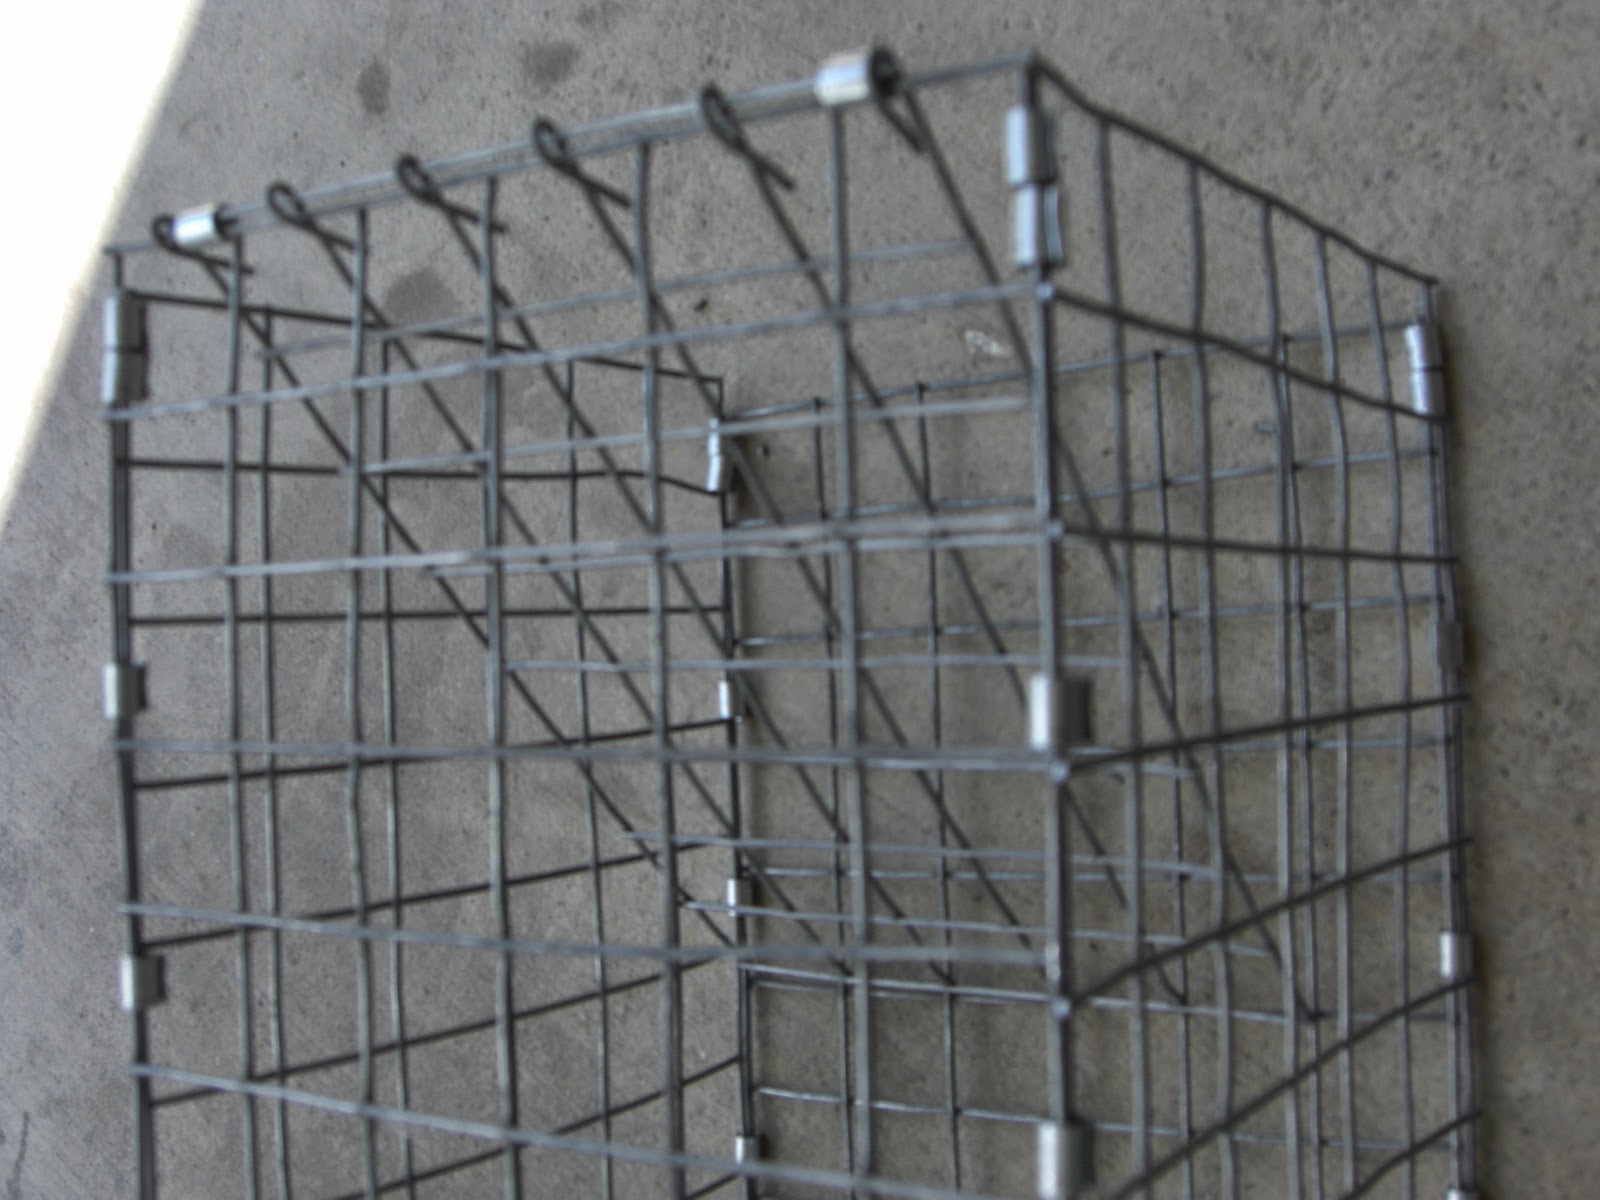
If you follow the above directions and refer to the below photos - you should be able to construct these muskrat colony traps without much difficulty.
You can find the 16 gauge wire and all the tools you need @ LOWE$ or a farm supply store near you. The cost to build a trap like this varies depending on your supplier - but generally - about $3 per trap for materials - and about 30 minutes or less per trap - once you understand the procedures.
You can make adjustments to the patterns to suit your own needs - state requirements - and if your state bans these types of traps - do not worry - I will show you in my next post - how to convert these type of traps to spring loaded single door muskrat traps - with rear catch removal doors.
I will also show you my new metal bender - once I get it designed and built.
In the meantime - you can watch ED'$ You Tube Channel - where you can find out how to make a cheap metal bender for almost FREE -
GOOD LUCK trap building.
Next POST -
Trapper ED /// BIGFOOT TRAP$


Tools plus material cost vary - $200 plus.
ReplyDelete